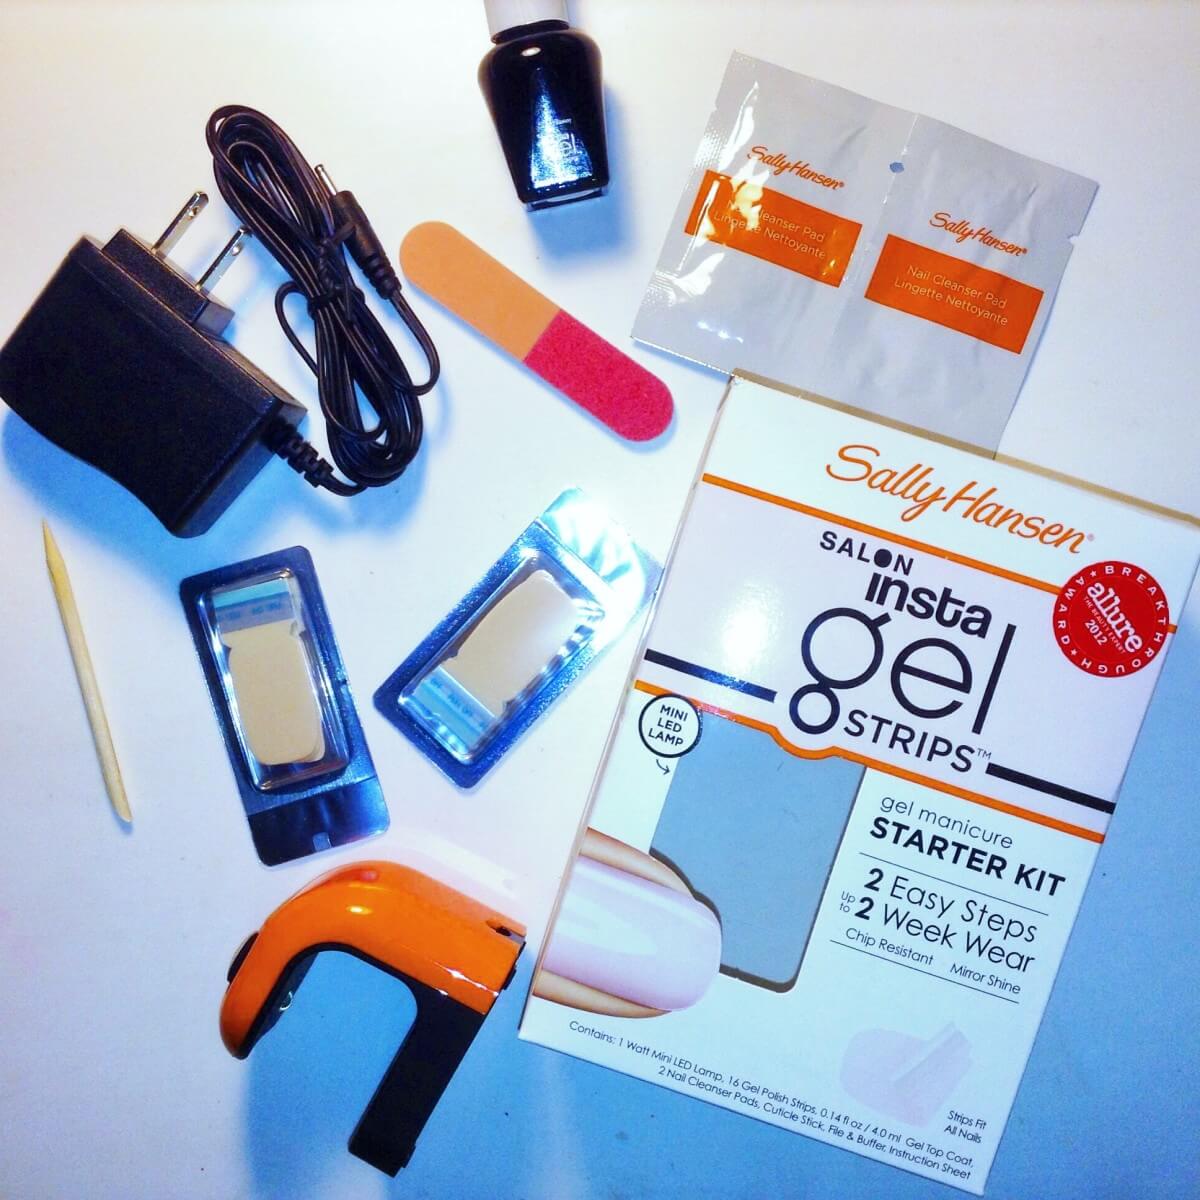
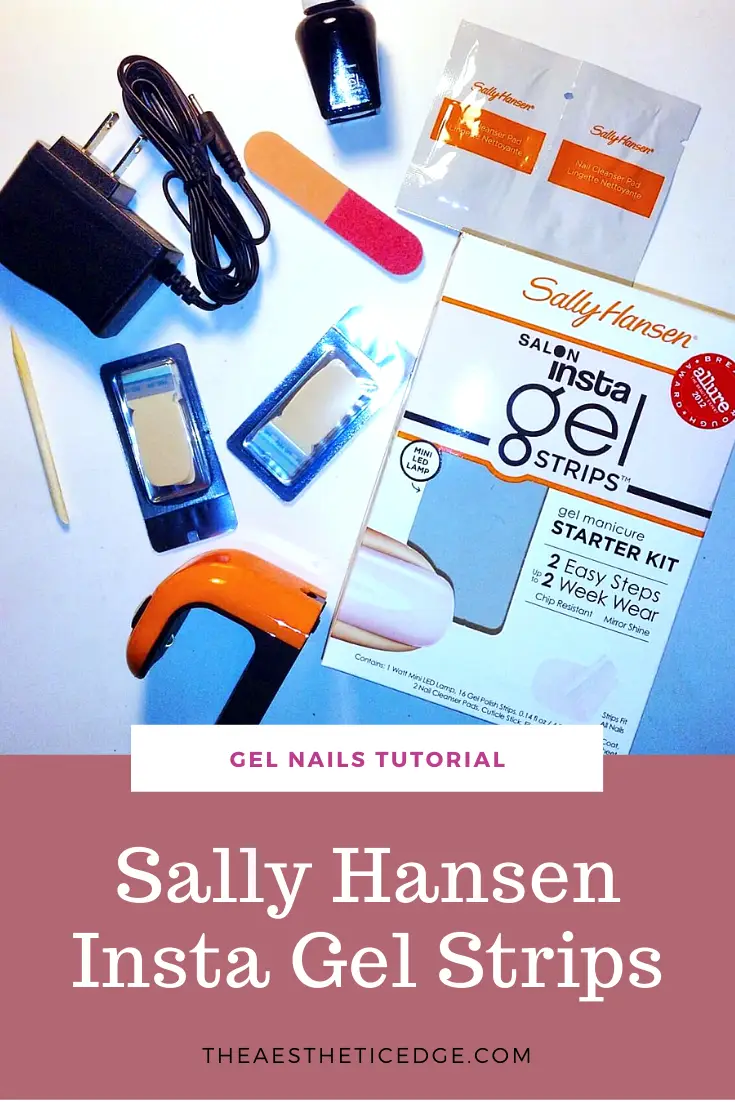
Gel nails are a fairly popular nail trend these days. You may be wondering how you can achieve gel nails at home in a way that is simple, yet affordable. I want to share my gel nails tutorial so that you can take part in this trend and enjoy nails that seriously do not chip. The kit that I use is the Sally Hansen Salon Insta Gel Strips kit. It contains everything that you need to start on your gel nails adventure. Below I am teaching you how to use the kit for beautiful, at home results.
Before using this kit you should follow my nail care routine to ensure that your nails are ready for this type of manicure!
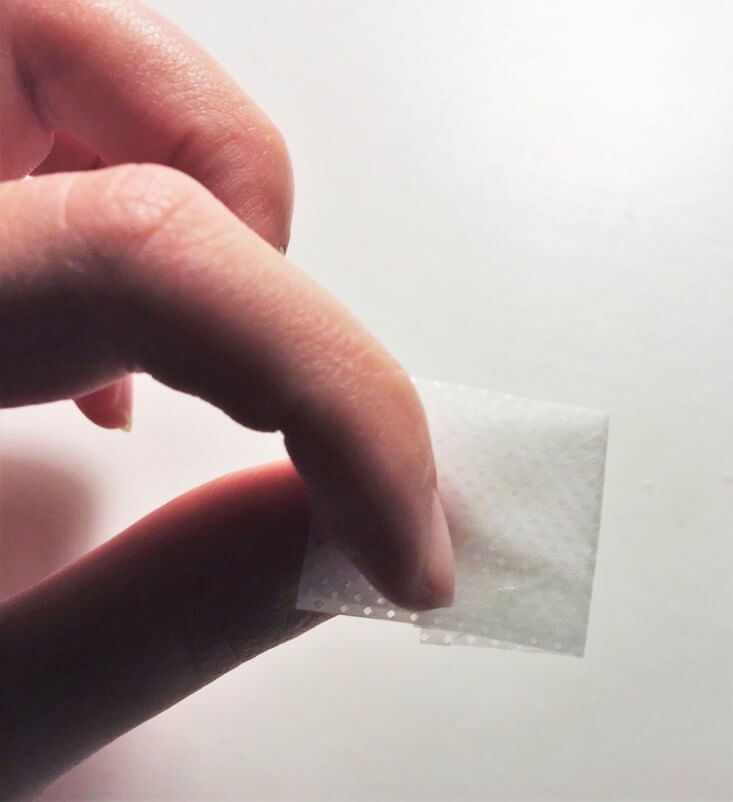
Step 1- Cleanse nails
Each package of strips comes with two cleansing pads, one for cleansing your unpolished fingers, and one for after the UV light session. Go ahead and cleanse each nail with one of the pads to start the gel nails tutorial, saving the other for later. This will ensure there is no dirt or oils on your nails, which could affect the longevity of your manicure.
Pro-tip: If, for whatever reason, you do not have any of the cleansing pads on hand, do not waste your money on a replacement box from Sally Hansen! They are just cotton pads soaked in rubbing alcohol. Odds are that you already have cotton balls and rubbing alcohol at home, which you can use instead.
Step 2- Open up the strips packages
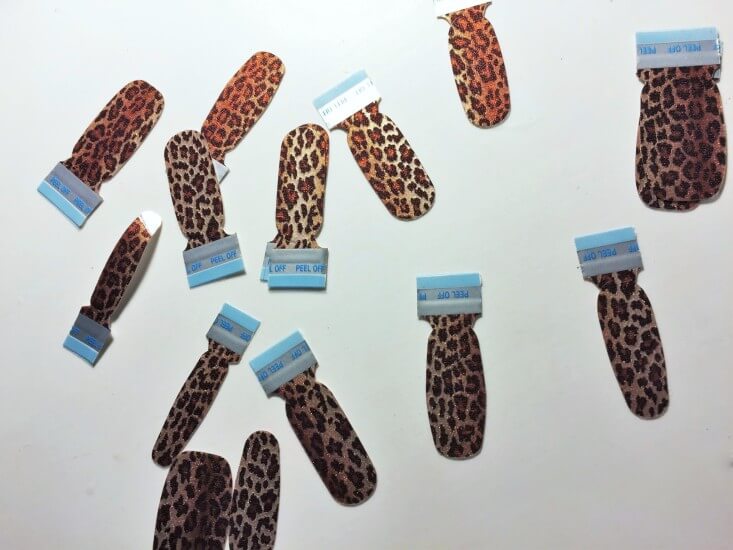
I find it helpful to lay all of the strips out on my desk so that I can begin the process of selecting the strips that best fit each of my nails.
Step 3- Lay out selected strips
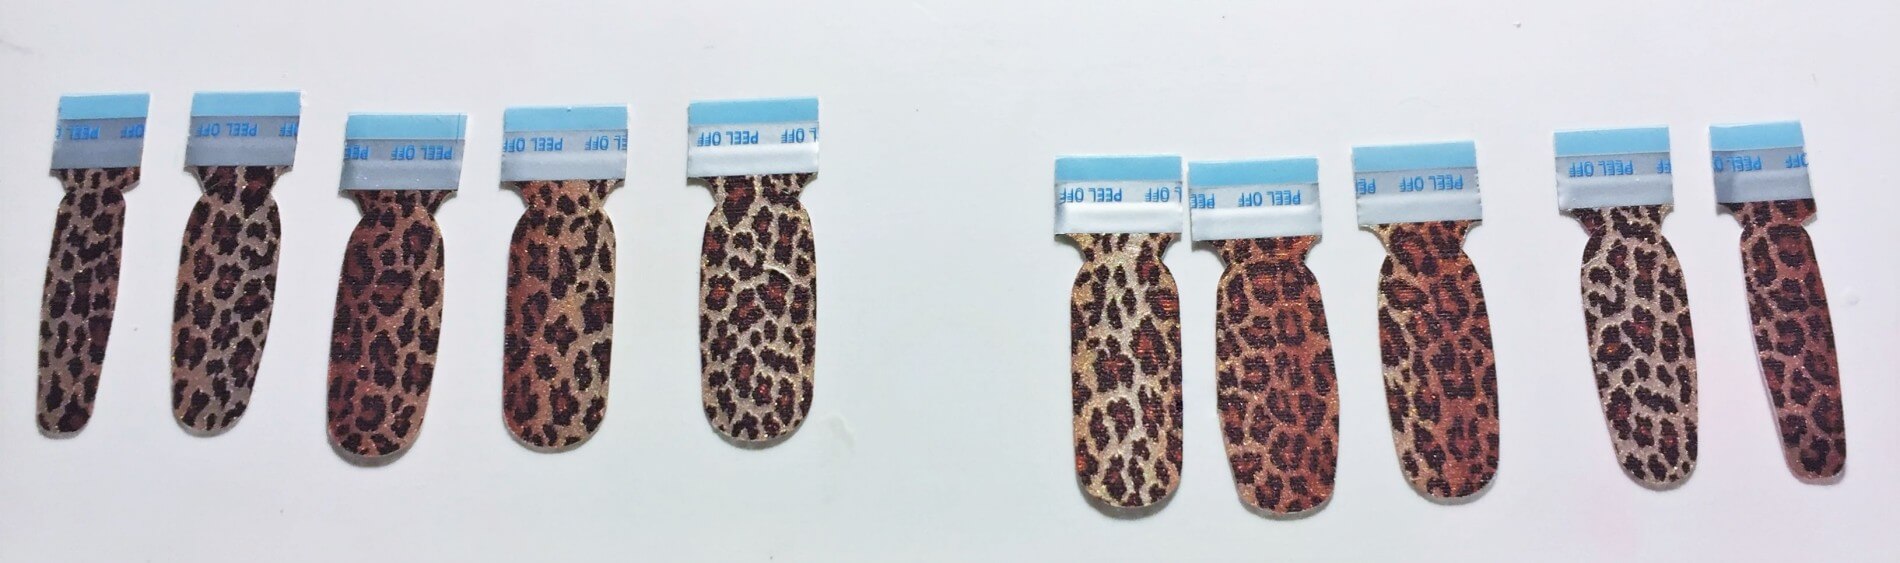
After I have selected all 10 strips that closely match the size of my nails, I like to lay them out in order. I find this helpful for when it comes time to start applying them.
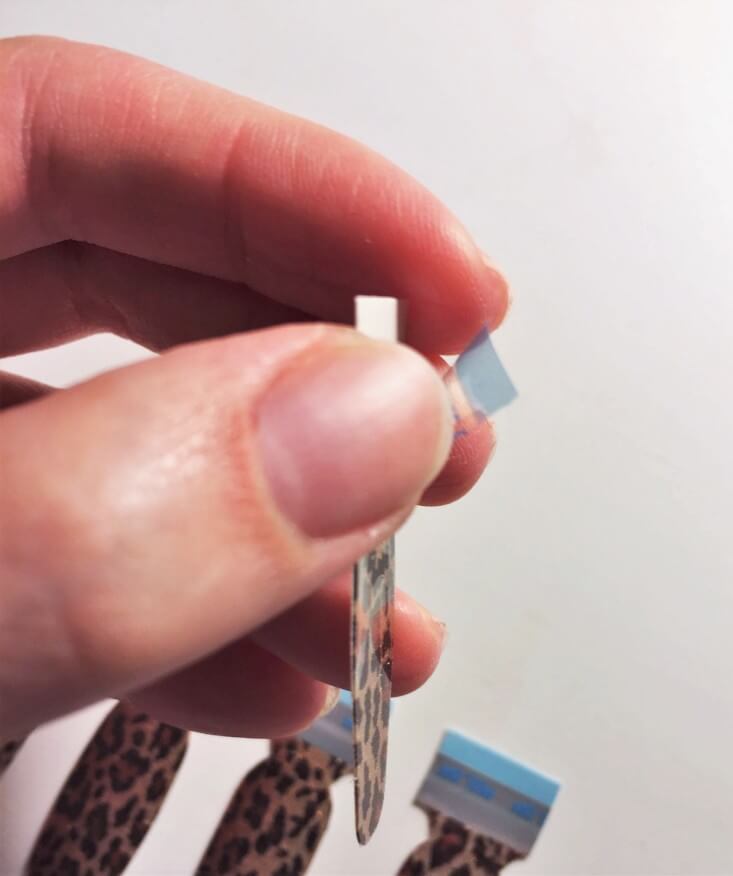
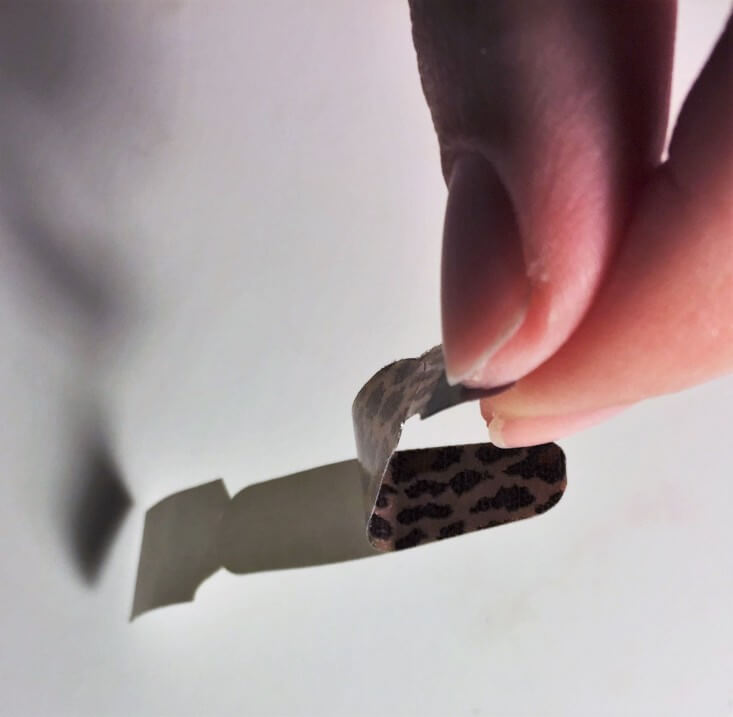
Step 4- Peel strip off of paper backing
Next, you want to carefully peel one of the strips off of the paper backing. They provide a blue “peel off” area to make this easy. Just be sure to be gentle while doing this. You do not want to touch the sticky underside if you can help it.
Step 5- Place strip on nail
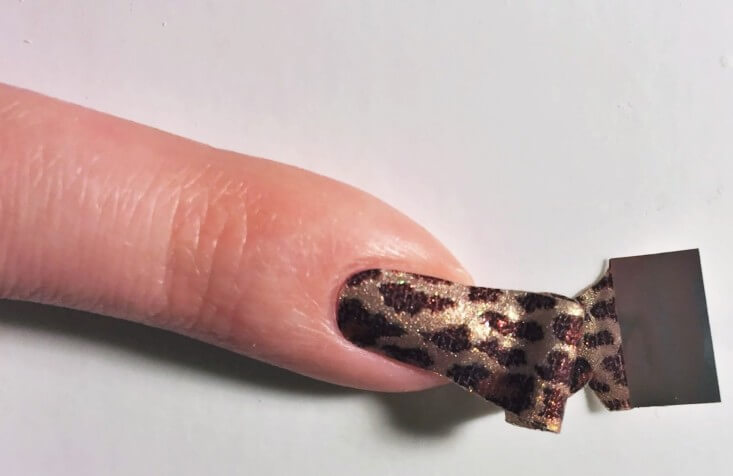
Now, carefully place the sticky side of the strip on your nail, just above the cuticle. Try your best to not overlap the strip on your skin and to avoid creases and air bubbles. This is the time to smooth out any creases and air bubbles that you may have. Also note that if you have small nails like me, you may have excess strip overlapping onto your skin, which is ok.
Step 6- Fold strip over
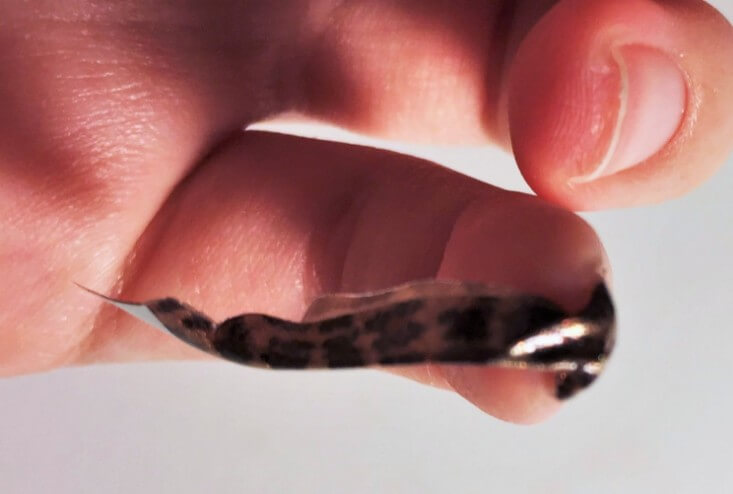
Now you will want to fold the excess length of the strip over the tip of your nail. This prepares you for Step 7.
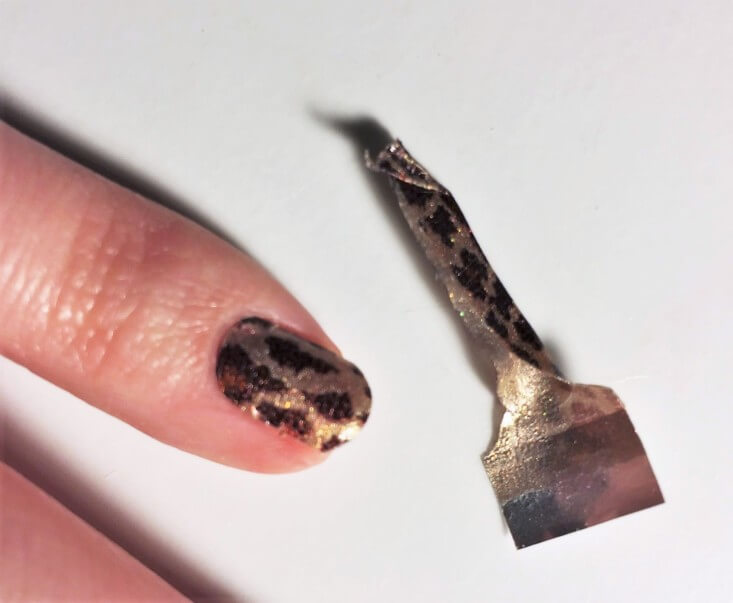
Step 7- File excess
Now that the strip is folded over the tip of your nail, go ahead and file the excess away with the provided nail file. A few passes of the nail file should be enough to cleanly remove the excess.

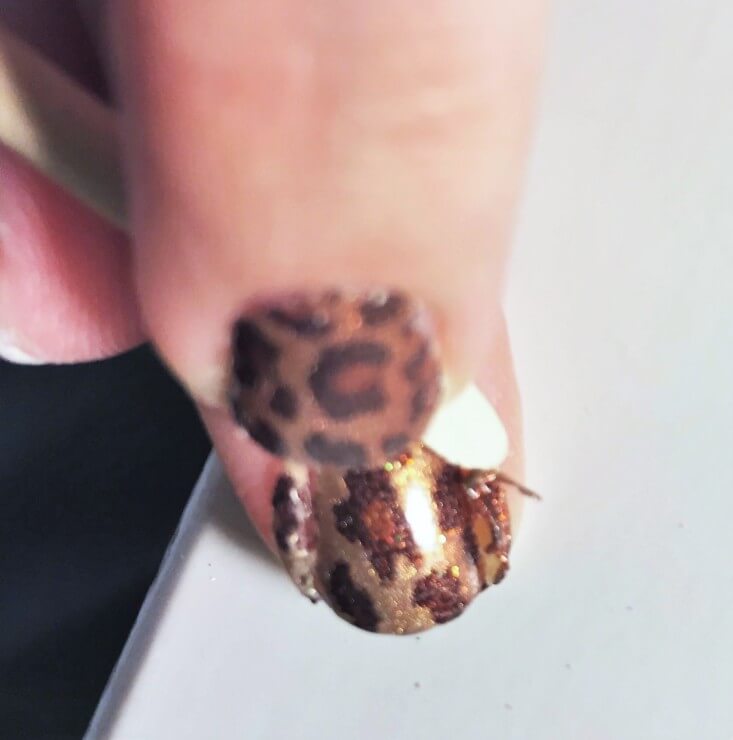
Step 8- Remove excess from skin
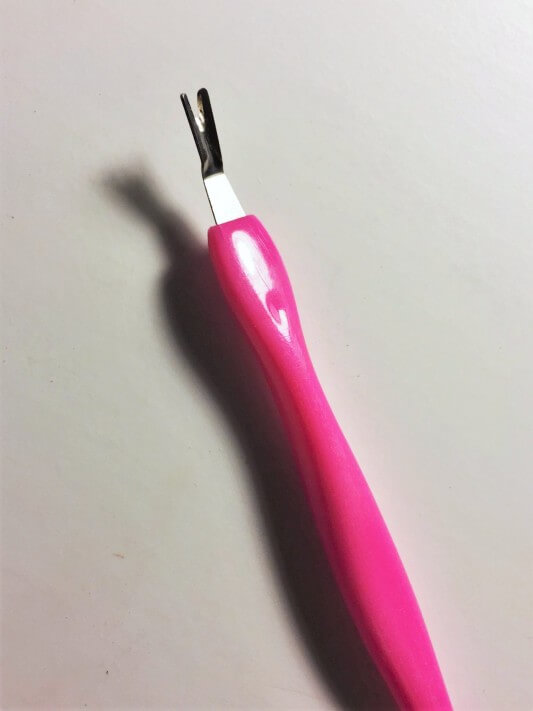
Being as that my hands (and nails) are very small, not all of the strips will fit me perfectly. If you are like me, I have a few solutions to this problem, but they must all be done very carefully to ensure that you do not mess up the edges of the strip. While applying this particular manicure I am able to take the flat edge of the provided cuticle stick and push it in the crease between my nail and my skin. This actually cuts the strip, and then I can peel it off of my skin. I suspect it is that easy due to the age of the strips. If this does not work for you, I also like to cut the excess away using a cuticle cutter.
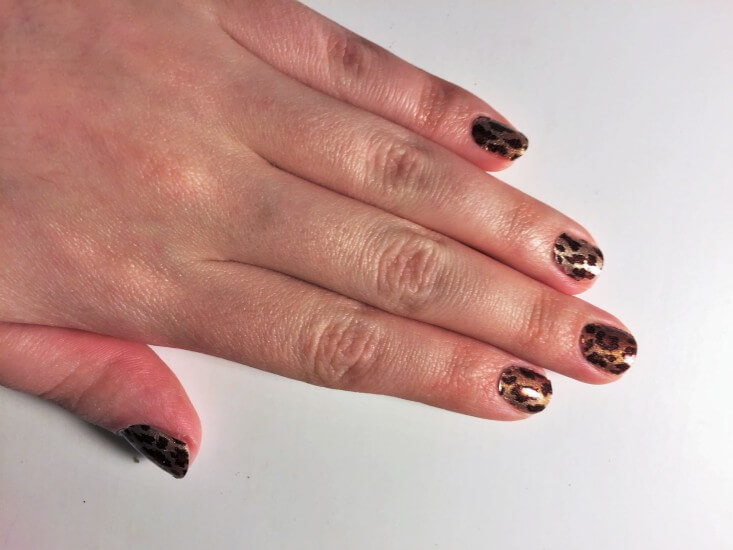
Step 9- Admire your work so far
Repeat steps 4-8 for each nail, until you have strips on all 10 nails. Feel free to take a moment to admire your work so far.
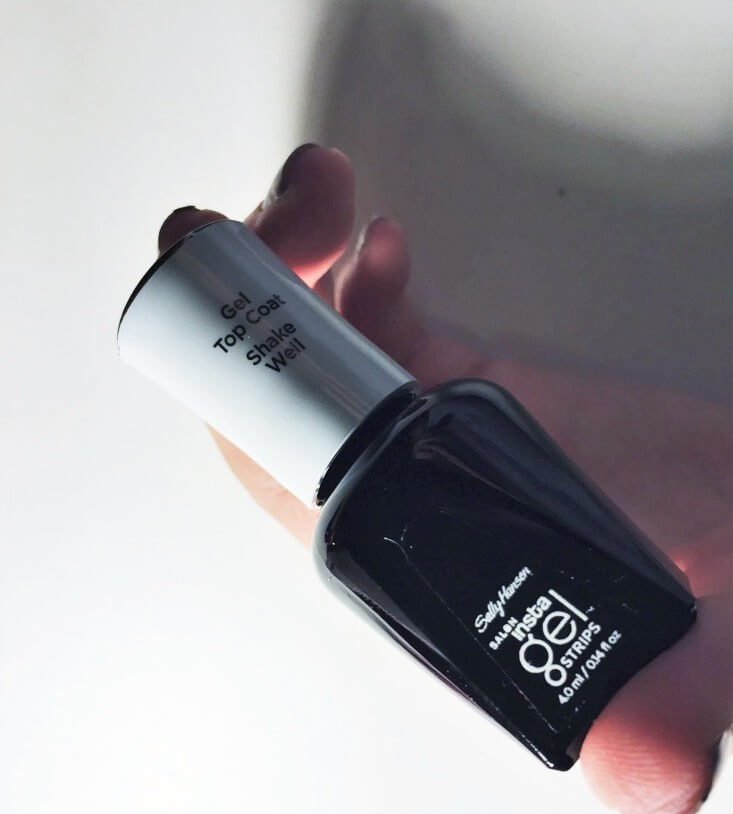
Step 10- Shake topcoat
Be sure to shake the gel top coat well before you use it.
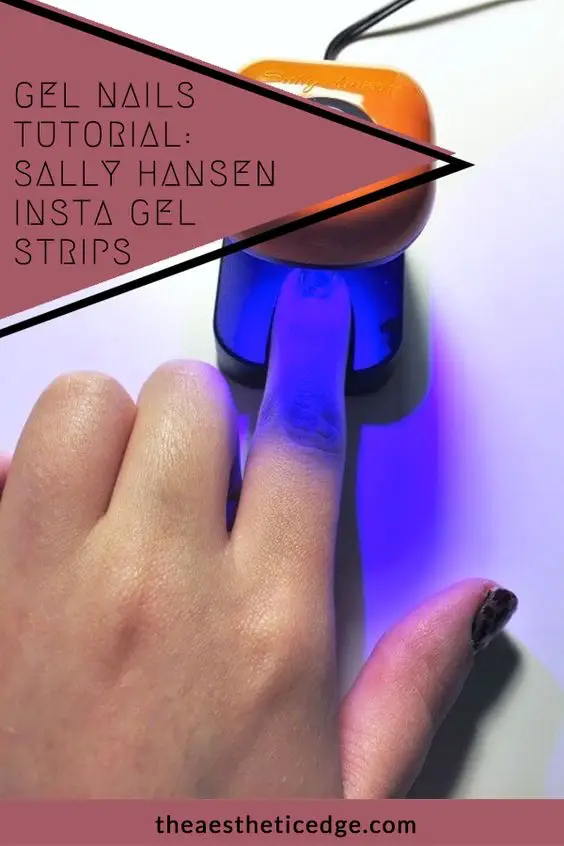
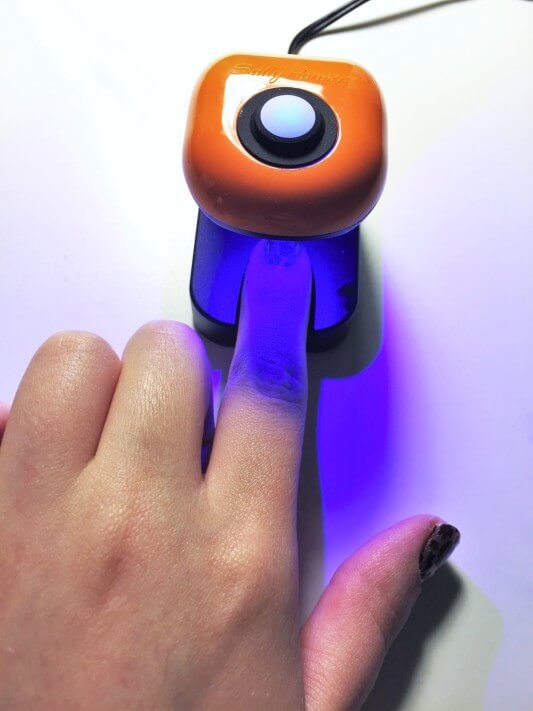
Step 11- Apply topcoat and cure
You will want to work with one nail at a time for this step. Apply a generous layer of topcoat to ONE nail, and then place your nail under the light. There is a small bump on the base that you can feel, which is where your finger should be centered. Press the button to turn the light on. The light has an automatic timer, which turns the light off when the curing is done. No counting required!
Note that you should apply the topcoat to ONE nail, and then cure that SAME nail before moving on to the next nail. Always work with one nail at a time.
Step 12- Remove tacky residue
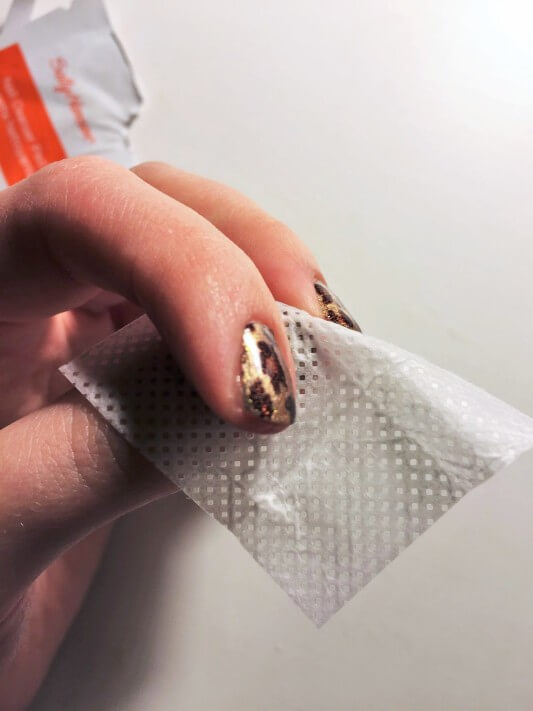
After you have completed Step 11 for each nail, use the second cleansing pad to wipe each nail. The curing process leaves behind a sticky residue, and the pad will easily remove it.
Step 13- Admire your gel nails
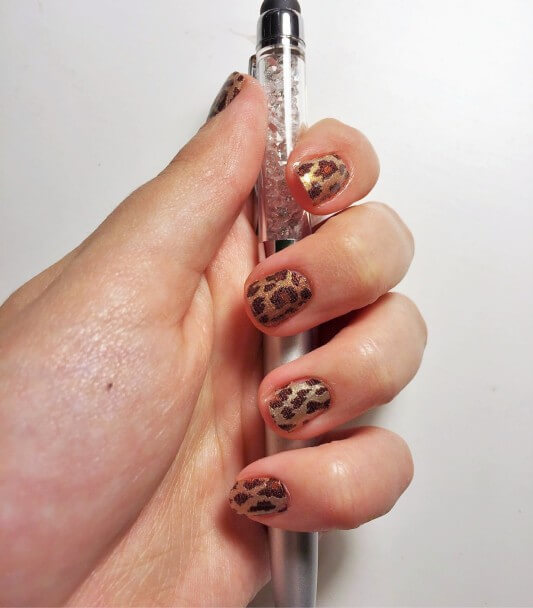
You are all done with my gel nails tutorial! Take a look at that shine. I have never had these strips chip yet.
I think the Sally Hansen Salon Insta Gel Strips kit is very easy and dummy-proof to use. They are the only true gel nails that I use at home, and I am always pleased with the results of this gel nails tutorial. They even remove easily with nail polish remover. I believe this kit works similarly to other UV light kits on the market. Have you ever done gel nails at home? Will you be trying out this kit? Until next time, continue to let your true beauty shine.