At some point we have all dropped our favorite powder makeup product or have pushed a little too hard while applying lipstick, leading to utter makeup destruction. We spend our hard earned dollars on our makeup, and it is very upsetting when we accidentally destroy it. Well, cry no more, because I am going to teach you that fixing broken makeup is not as hard as it sounds. Never throw your products in the trash, no matter how mangled they are!
Step 1: Gather materials
Below I am listing the basic materials that you will need to fix a larger pressed powder items as part of this fixing broken makeup tutorial. The needed items vary for smaller items and items inside palettes, such as eyeshadows. These everyday household materials include:
- Plenty of paper towels to protect your working surface and for wrapping around your repressing tool
- Plastic spoon
- Disposable bowl
- Rubbing alchohol
- An object that is similar in size and shape to the makeup pan that you can use for repressing

Optionally, you will want a tool that you can use to really scrape out product that is stuck in the pan and that will finely grind up the broken powder. This can be anything- a plastic butter knife, a sewing needle, or even the bottom of a skinny makeup brush. Also, if you are working with an eyeshadow you will want a dropper/pipette or even a travel spray bottle for adding the rubbing alcohol to the makeup.
Step 2: Depot the product

The first thing you want to do to when fixing broken makeup is to scrape the entire product into a bowl. This is the least messy option which ensures you will not waste any product while trying to work with it. For smaller products, such as single eyeshadows and eyeshadow palettes, it is easier to skip this step entirely and do all of your work directly inside of the pan. An example of a broken eyeshadow palette is my Urban Decay Afterdark palette.
Step 3: Clean out the empty package

Grab your favorite makeup wipes, micellar water, or just plain soap and water to clean off your palette. If you have skipped step number two it is best to do your cleanup after your repressing is finished.
Step 4: Finely grind the powder
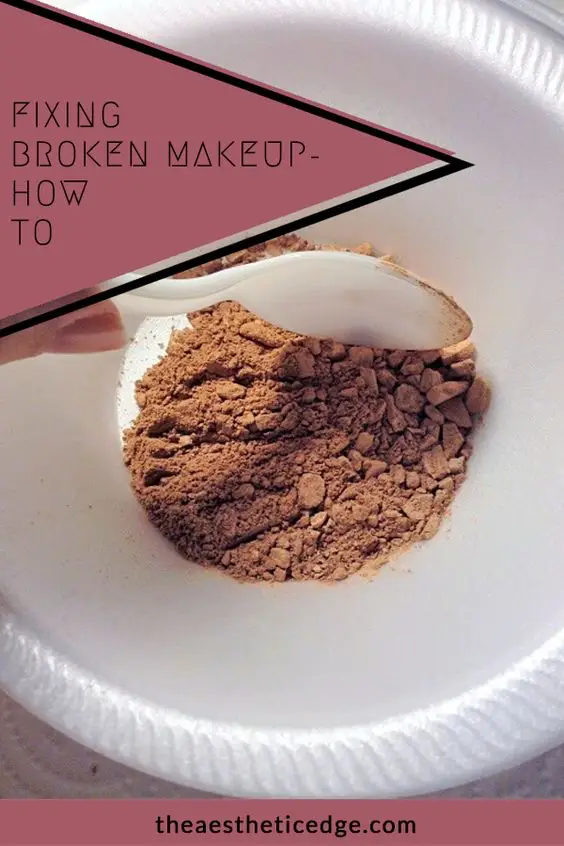
The next step is grinding up the powder until it looks finely milled and free of clumps and chunks. This ensures that we will have a smooth finished product, just like the product was before it broke. If the spoon alone is not doing it for you, now is the time to grab the tool you are using to grind everything up.
Keep in mind that this can get a bit messy when you are fixing an eyeshadow palette or something that contains multiple products. You can use paper towels to protect the other the other items in the palette.


Step 5: Add rubbing alcohol
Since I am fixing a large item I am pouring the rubbing alcohol right into the powder. Add a little bit at a time and stir until you reach the consistency pictured below. You want it moist enough that you can easily ball the product up and transfer it back into the pan. If you end up with a runny, liquid product, then you have added too much alcohol and need to let it dry out a bit.
For eyeshadows and products that you are fixing right inside the pan itself, you will want to use a dropper or travel spray bottle to saturate the powder. You will not be doing any sort of mixing. You just need to apply the alcohol until the powder looks visibly wet.


Step 6: Spread out the product

Now that you have transferred the product back into the pan, you need to spread it out until the pan is covered.
Step 7: Clean the edges

After spreading you may notice that you have some product around the edges of the packaging. You can go ahead and clean that up with your cleanser of choice.
Step 8: Wrap your pressing tool

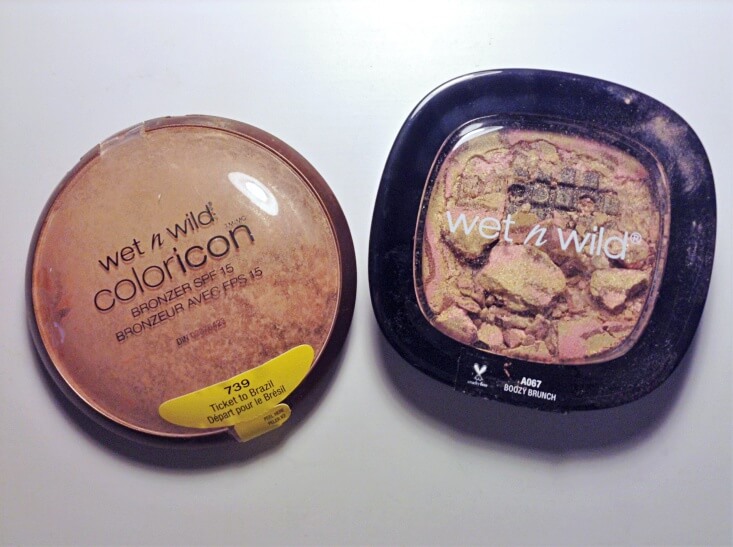
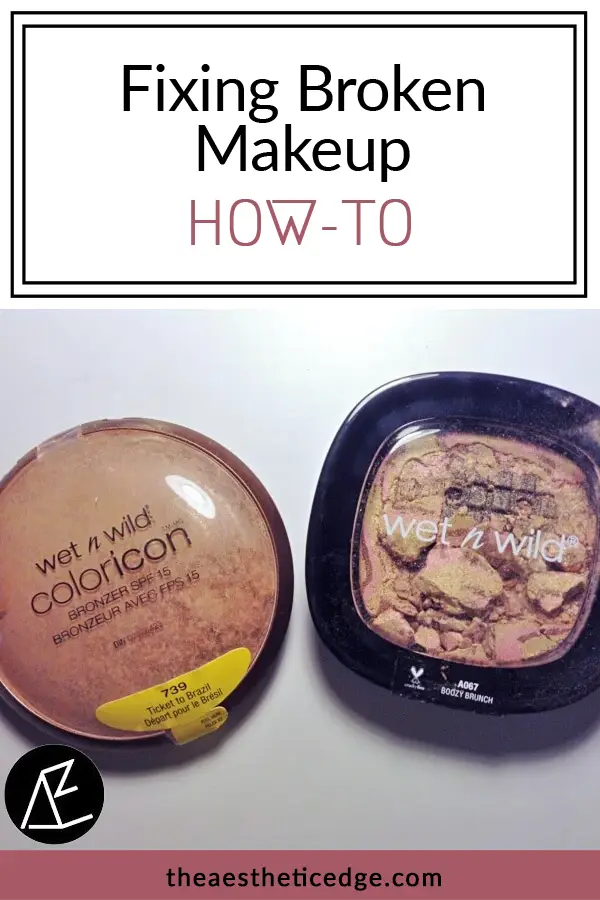
The tool that you use to repress your makeup can be anything around the house that is of similar size and shape to the product you are fixing. I have a limited edition wet n wild product that is in the same packaging as the bronzer I am fixing in this tutorial, so it works great. For smaller items, such as round eyeshadows, often times monetary coins work well. Wrap your pressing tool in a paper towel to protect the tool and to absorb some of the leftover alcohol.
Step 9: Repress the makeup

Take your pressing tool and put it on top of the makeup to be repressed. Firmly press down as evenly as you can, and release. Doing this pushes your product back into the grooves of the pan so that it does not fall out once it is dry, and provides a flat, smooth surface.
Step 10: Smooth the surface


If you are bothered by the designs that your paper towel may leave in the surface of your makeup, go ahead and smooth them out at this time. I am using the back of the spoon to do so.
Step 11: Let it dry out

The final step in fixing broken makeup for powders is the most boring- letting the makeup dry out. Leave the lid open on the product for about a day, then check it out. If it looks and feels dry, then it is good to go. If not, use your best judgement and keep checking on it as the days progress. Your finished product should work the same as it always did.
Lipsticks and other similar products are super easy to fix. The funny thing is that I only have one broken lipstick right now, and I just cannot get it to stay together for anything! That is why I have no images. However, I will detail the process below. It requires the use of a lighter, so definitely be careful and have parental help if you are under 18 years of age.
Lipsticks tend to either snap in half or break off from the bottom. All you have to do is hold the broken off piece of lipstick in one hand, and the lighter in the other. Use the lighter to soften the bottom of the broken lipstick bullet for a few seconds, then immediately push the broken piece you are holding back onto the remaining lipstick, or back into the bottom of the tube. You may want to smooth out the edges with your fingers if you are left with a visible line. Finally, place the lipstick in the freezer for about 10 minutes to cool the seal.
This concludes my tutorial for fixing broken makeup. If you have any questions, please leave them in the comments. I would also love to hear your broken makeup horror stories. Until next time, continue to let your true beauty shine.
Discover More Beauty Tips & Tricks:
| Holy Grail Beauty | Beauty Stock-Up Essentials | Favorite Beauty Products | Tips for Better Makeup |
| High-End Makeup Dupes | How to Use Up Beauty Products | Babe Original Serums Review | Cooseon Mini Makeup Fridge |